Shower tile succeeds or fails behind the surface. The visible tile matters, but the substrate, waterproofing, drain slope, seams, penetrations, and movement joints decide whether the installation is built for daily use.
This guide gives homeowners a practical way to talk through shower tile and waterproofing before installation begins. It is especially useful when tile is part of a larger bathroom remodel.
Confirm the shower area before choosing tile
Tile size and style should not be the first decision. Start with the shower shape, drain location, curb or curbless entry, niche placement, glass plan, and fixture locations. Those details affect layout and prep.
- Will the shower have a center drain, linear drain, or existing drain location?
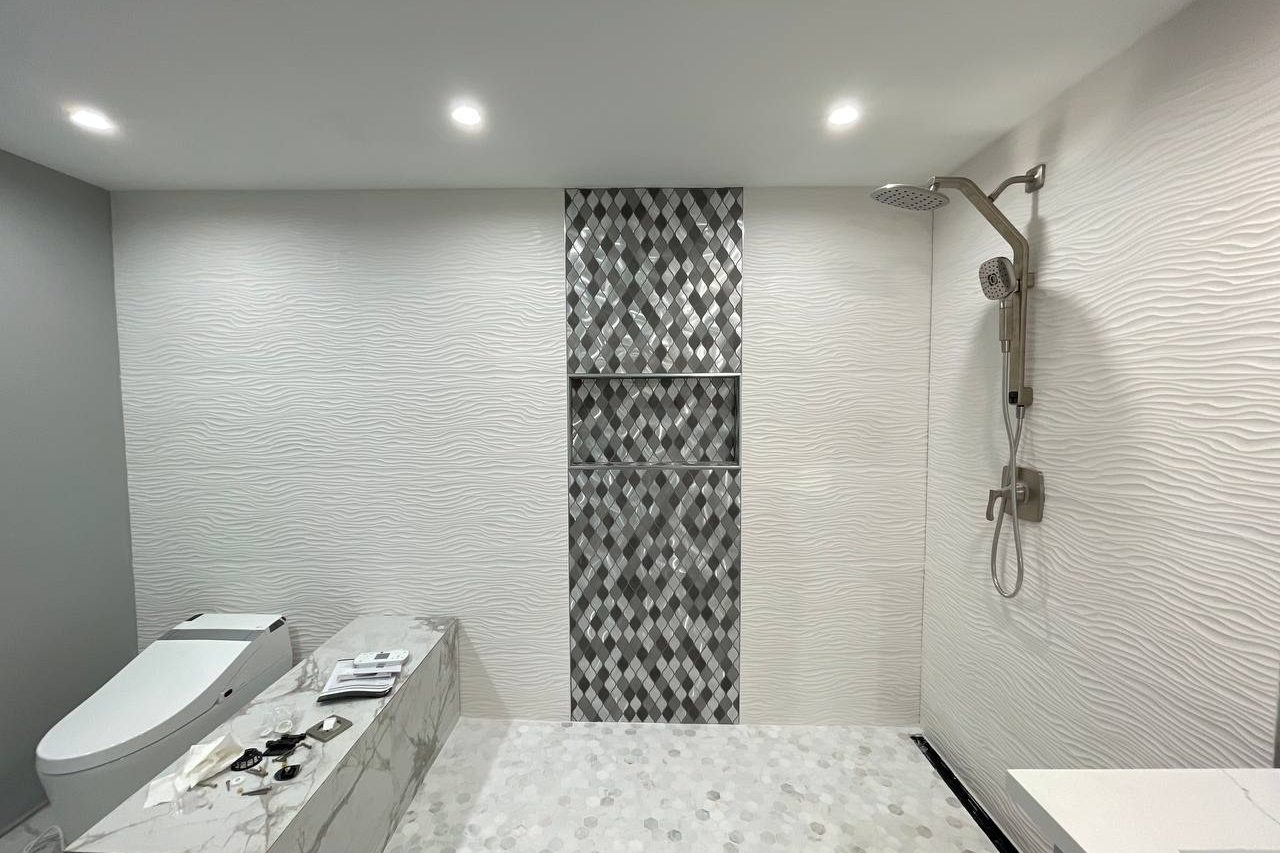
- Will there be a curb, bench, niche, shelf, or half wall?
- Where will the valve, shower head, hand shower, and glass hardware land?
- Are there outside corners, exposed tile edges, or transitions to drywall?
Once these details are clear, it is easier to choose tile that fits the room without awkward sliver cuts or difficult trim decisions.
Review substrate and waterproofing as a system
A shower is a wet area, so the wall and floor assembly should be planned as a system. Common approaches include cement backer board, foam panels, liquid-applied membranes, sheet membranes, or manufacturer-specific systems.
The right method depends on the room, the tile, and the installation details. What matters most is that the substrate and waterproofing are compatible and that seams, corners, fasteners, niches, and penetrations are handled correctly.
Questions to ask before tile starts
- What backer or panel system will be used?
- How will seams, corners, fasteners, and niches be sealed?
- How will the shower pan or tub transition be tied into the wall waterproofing?
- Will the selected products be installed according to the manufacturer instructions?
These are normal questions. A good scope should be able to explain the method in plain language.
Check slope, drains, and fixture penetrations
Water should move toward the drain, not sit on flat areas or collect at transitions. Shower floors, benches, shelves, and niches need appropriate slope. Fixture openings also need careful sealing because they interrupt the waterproofing layer.
- Shower floors should be planned around the drain type and tile size.
- Niches and benches need slope toward the shower, not toward the wall.
- Valve and pipe penetrations should be sealed with compatible materials.
- Glass hardware should be coordinated so fasteners do not create avoidable risk.
If plumbing work is part of the project, coordinate it before surfaces are closed. Our plumbing page covers fixture, shutoff, drain, and testing considerations.
Plan tile layout before setting the first piece
Layout is where technical planning and design meet. A quick layout review can prevent awkward cuts around niches, outlets, valves, edges, and glass lines.
- Dry-fit or review starting lines before installation.
- Consider how tile wraps corners and where cuts will be visible.
- Confirm grout joint width and grout color before work starts.
- Decide on metal trim, bullnose, or finished tile edges.
- Check that accent tile or niche tile has a clear stopping point.
Large-format tile, small mosaics, handmade tile, and patterned tile each create different layout and prep demands. The estimate should reflect that complexity.
Do not ignore grout, sealant, and movement joints
Grout is not the same as waterproofing, and caulk is not a shortcut for poor prep. Grout type, flexible sealant, and movement joints should be selected for the room and the materials.
Where tile meets a tub, shower pan, countertop, floor, wall, or another plane, flexible sealant is often used instead of rigid grout. Movement joints help absorb normal expansion, contraction, and building movement.
This is also where maintenance expectations should be discussed. Some materials need sealing or more careful cleaning than others.
What should be documented in the estimate
A tile estimate does not need to be complicated, but it should make the main assumptions visible. Look for notes about prep, waterproofing, tile layout, trims, grout, transitions, and what is excluded.
- Demolition and surface preparation.
- Substrate or backer system.
- Waterproofing method for wet areas.
- Tile size, pattern, grout, trim, and edge details.
- Fixture, niche, bench, glass, or plumbing coordination.
For service details and project photo examples, visit the Tile & Backsplash page.
How this helps the finished bathroom
When shower tile is planned this way, the project is easier to price, easier to schedule, and easier to inspect before it is covered by finish materials. It also gives the homeowner a clearer way to compare proposals without relying only on tile samples.
If you are planning a bathroom, start with the shower system, then build the finish choices around it.
Ready to Transform Your Bathroom?
Get a free estimate from our experts in the Seattle area.
Get a Free Quote Contact Us